Moon photography guide 2023: How to take stunning pictures of the lunar surface tonight
From craters and mountains, to valleys and frozen lava seas, there’s a hidden world waiting to be captured if you point your camera towards the Moon. Since it’s big, bright and easy to find, it is the perfect target with which to start your journey in astrophotography.
In this article, we’ll give you pointers to help you get the best from the Moon with the equipment you have. We’ll show you how to take great photos using just a smartphone and how to advance onto bigger equipment as you become more confident.
A successful Moon-shot of your own may also give you the boost you need to point your camera further into the Solar System and deep space, so you can photograph the planets, stars and even spectacular deep-sky objects.
My top tips for lunar photography
- Focus is important – take your time to get it spot on.
- Bracket exposures around what your camera suggests.
- Surface detail is best at phases other than a full Moon.
- When attempting close-ups, a Moon that’s high in the sky appears more stable than a lower one.
- A remote shutter release avoids camera shake. On smartphones, pressing the volume control on a headphone lead may activate the shutter.
- Barlow lenses and focal reducers can be used to adjust a telescope’s effective focal length and image scale.
Beginner: Starting out in astrophotography
Only got a smartphone? Perfect, you can still snap some great images of the Moon.
The Moon is bright enough to photograph with a smartphone, but different makes and models will produce varying degrees of success. The Moon appears brightest when full and opposite the Sun in the sky. A rising full Moon looks artificially huge, due to an effect known as the ‘Moon illusion’.
A photo of this can be disappointing, with the Moon appearing much smaller than expected. If your camera favours the foreground, the Moon tends to overexpose. If your camera favours the Moon, the foreground can underexpose and become lost.
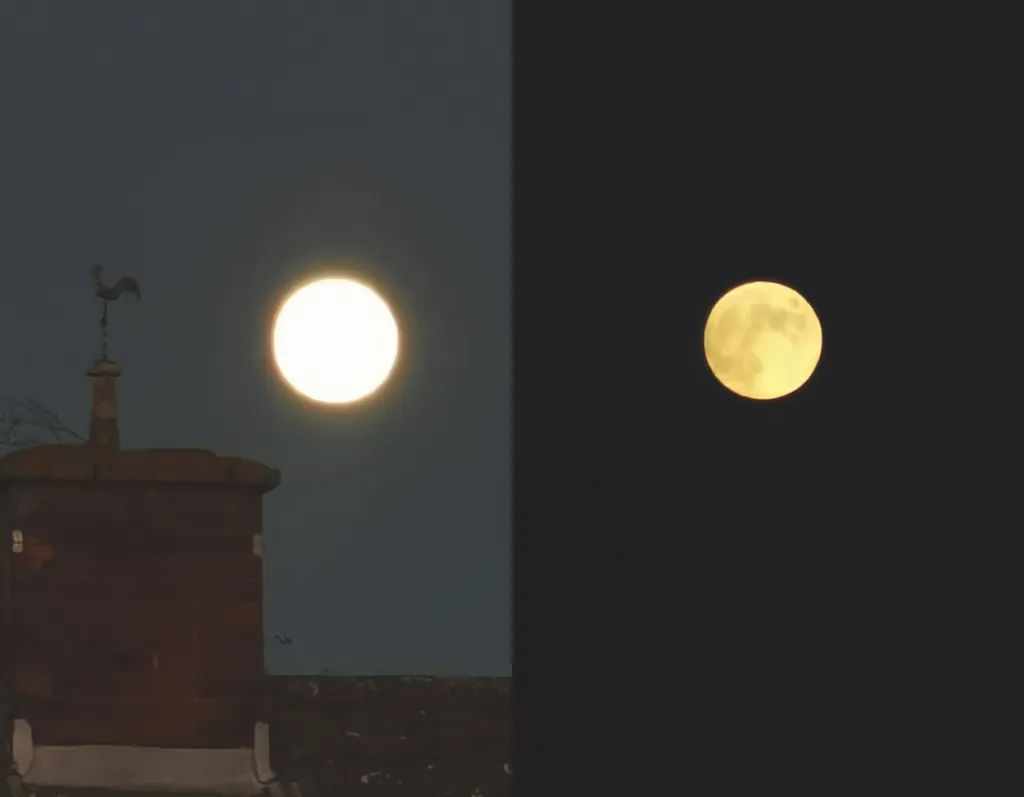
Try zooming in on the Moon’s disc before you take your picture to record the dark and light regions on the Moon. Artificially intelligent assistants can augment images, producing detail which may not be real. For the best results, turn them off.
If you catch the Moon low, and the atmosphere is hazy or the sky is not totally dark, it may be possible to record foreground detail and lunar disc features. It’s a tough balance and something to aim for. Artistic shots, such as catching moonlight reflecting on water can be interesting too.
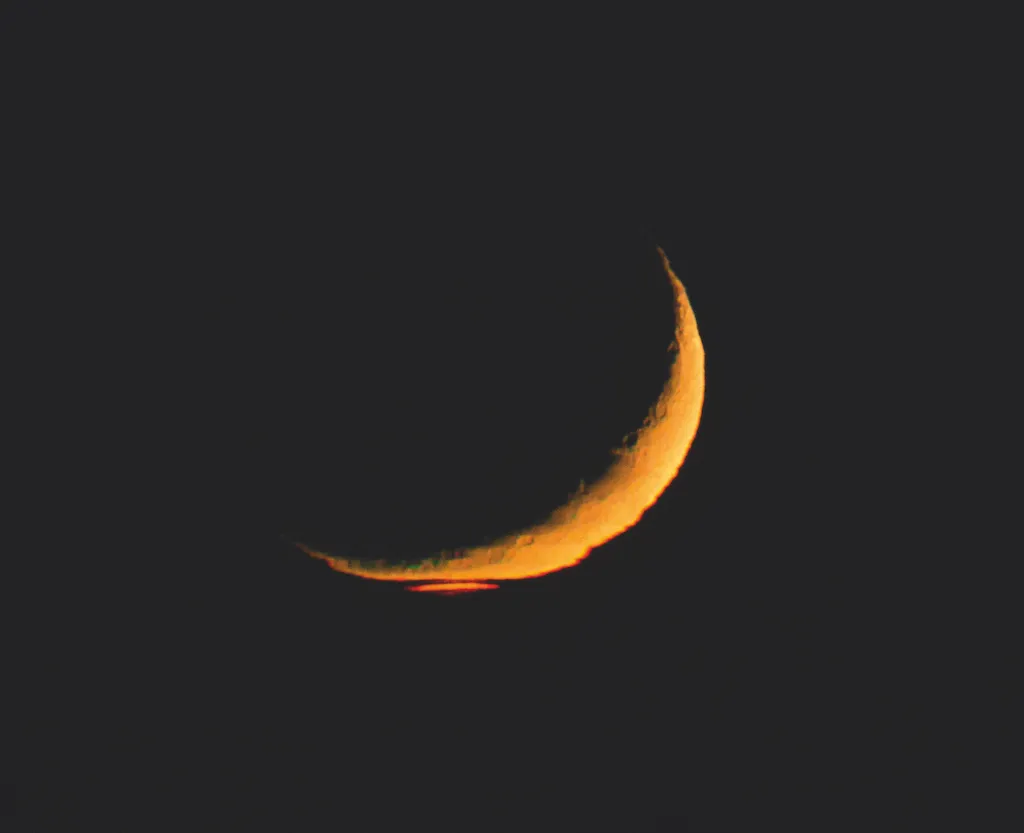
While a bright full Moon may overexpose to look more like the Sun, a thin crescent Moon in the evening or morning sky, presented against the dusk or dawn twilight, may appear more ‘Moon-like’ in a photograph.
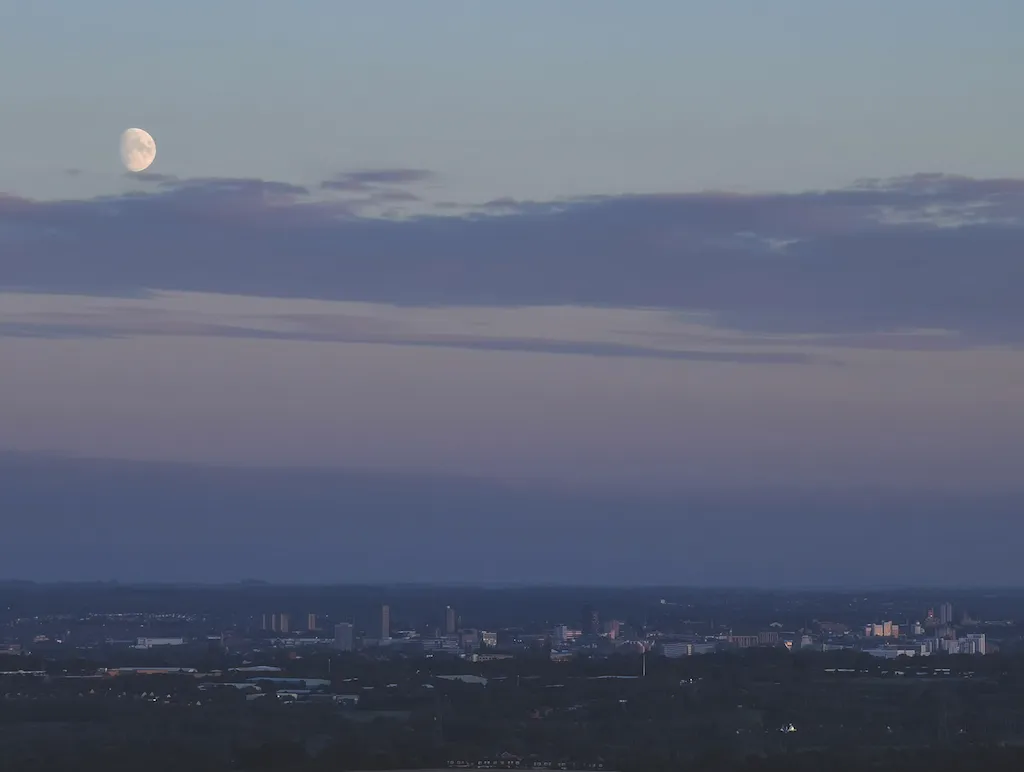
For more detailed images, ‘afocal imaging’ describes the technique of pointing a camera down the eyepiece of a telescope and can work surprisingly well. If you have access to a telescope, line up on the Moon and focus accurately, keeping glasses on if you wear them. Once done, point the camera down the eyepiece and press the shutter button.
It’s fiddly, but can produce impressive results.
Beginner lunar photography
- Camera: Smartphone with remote shutter release
- Mount: Tripod
- Moon phase: Thin crescent
- For detail try: Afocal imaging
Intermediate: A more detailed approach
Once you’ve got a proper camera, you can start being more creative with your shots.
A general photographic camera with interchangeable lenses opens the door to more detailed Moon images. The size of the Moon you’ll capture in your image will depend on your lens’s focal length. Anything over 200mm will begin to reveal tangible features on the Moon’s surface. A 1,000mm focal length lens shows a very detailed full lunar disc.
If you can capture the Moon’s shape, consider recording the daily change in phase, presenting the results in a calendar format. Be aware that the changing weather can get in the way of projects like this.
For the sharpest Moon detail, mount the camera on a platform such as a tripod. Use a remote shutter release to eliminate the need to physically press the shutter button, removing the risk of unwanted camera shake.
Set the camera and lens to manual. ISO settings should be low, say 200-1,600 for modern cameras. Lens aperture should be fully open with the caveat that some lenses show edge distortions under this setting. Selecting the lowest f-number (the f-number is the aperture, the lower the f-number, the more light the shutter lets in) and increasing by a stop or two should eliminate the distortion.
Accurate focus is essential. One trick is to turn the automatic focus (AF) on, and then half-press the shutter button with the Moon in view so the lens automatically focuses on the Moon’s edge. Once done, switch the lens to manual focus (MF), being careful not to touch the focus ring again. The lens should now be correctly focused.
Plan to bracket exposures, using your camera’s exposure meter as a base guide. Take a photo at the meter’s recommended setting, along with longer and shorter exposures, checking each result on the camera’s review screen.
A bright full Moon may appear tempting to photograph, but more dramatic views are found during the earlier and later phases, near where lunar day meets lunar night, a shadow line known as the ‘terminator’. For early- or late-stage crescent moons, you can sometimes see the lunar nightside glowing because of sunlight reflecting off Earth; a phenomenon known as ‘earthshine’. A longer exposure of a crescent Moon with earthshine will over-expose the bright portion but show lots of detail in the earthshine-lit portion.
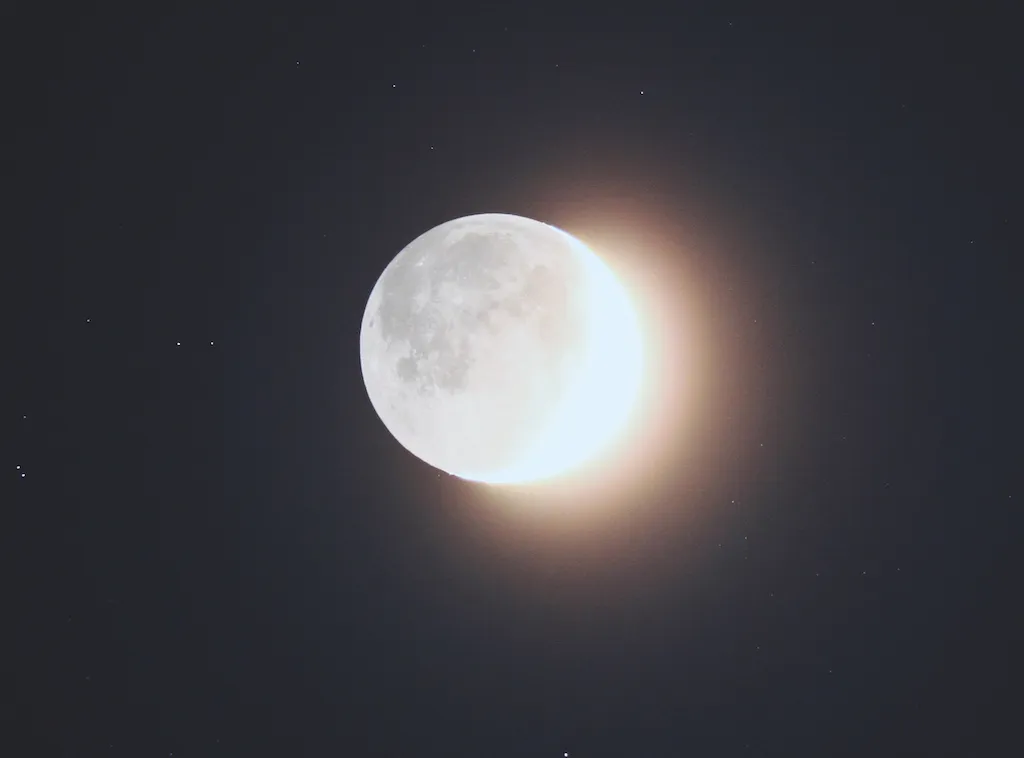
The bright surface adjacent to the terminator is where sunlight is falling obliquely onto the Moon’s surface. Here, features with height cast impressive shadows and intricate lunar details are presented at their dramatic best.
In the spring, the best time to photograph the crescent Moon is in the evening, because the Moon appears higher in the sky, setting at a steeper angle than in the autumn. In autumn, the reverse is true; crescents appear higher in the sky in the early morning. In astrophotography, higher altitude lifts subjects above the murky atmospheric layer close to the horizon.
Intermediate lunar photography
- Camera: DSLR
- Mount: Tripod
- Camera mode: Manual
- ISO: 200-1,600
- f-number: Lowest available, then increase by a stop (or two)
- Moon phase: Crescent
Advanced: Up close and personal
Got a telescope? Got a camera? Combine the two for expert-looking photos.
More detailed images can be made by coupling an interchangeable lens camera (ILC) – digital-single-lens-reflex (DSLR) or mirrorless-interchangeable-lens-camera (MILC) – to a telescope.
Adapters for specific camera makes and models can be purchased from astronomy stockists. These consist of a ring with the correct camera fitting. Inside the ring, there’s a female T-thread; a de-facto standard used in astrophotography. A male T-threaded barrel screws into the adapter, the barrel sliding into the telescope’s eyepiece holder.
Telescopes tend to have either 1.25-inch or 2-inch barrels; modern ones are supplied with an interchangeable adapter for both sizes. Use the larger 2-inch size, if available.
Once coupled, the telescope is like a powerful telephoto lens of fixed f-number. Ideally, use low to mid-ISO settings.
Keeping exposures short will reduce effects caused by the apparent movement of the Moon arising from the rotation of Earth. Too long an exposure, and the Moon will show motion blur. A polar-aligned, equatorial tracking mount will compensate for this motion, but isn’t essential for short Moon exposures.
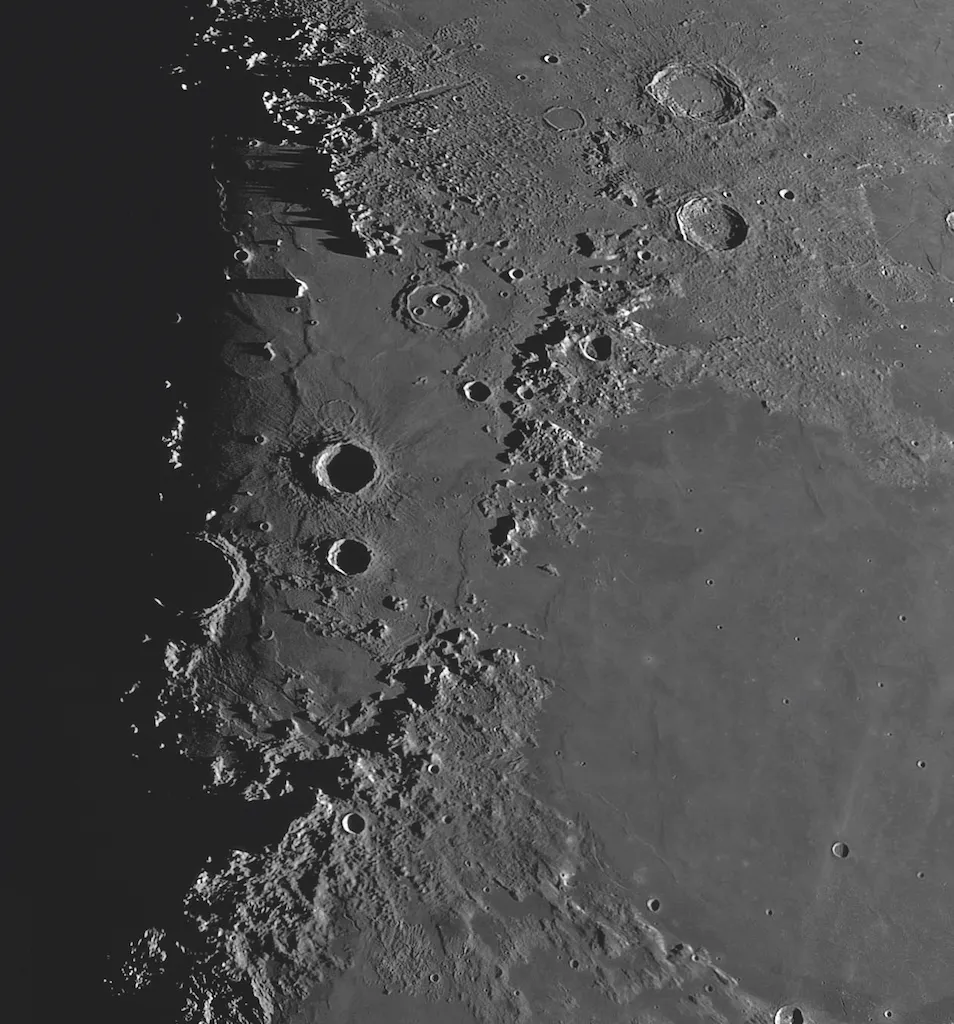
A highly magnified view of the Moon’s surface appears to shimmer and wobble, due to something called ‘atmospheric seeing’. This is a term describing the micro-refraction of the Moon’s light when it passes through Earth’s turbulent atmosphere. In astronomical imaging, it distorts and blurs fine detail.
Atmospheric seeing effects are minimised using a technique known as ‘lucky imaging’. This involves taking multiple short exposures, sorting the results by quality, aligning the best and averaging them together. This can be done with photographic cameras but is more typically achieved using a high frame rate camera – essentially an industrial-strength webcam.
Dedicated to planetary, lunar and solar imaging, these devices typically capture hundreds, if not thousands, of frames over just a few seconds. The laborious task of processing the results can be automated with some freeware applications.
Popular examples are Registax (astronomie.be/registax) and AutoStakkert (autostakkert.com).
Advanced lunar photography
- Camera: DSLR, ILC, MILC or dedicated high-speed astrophotography camera coupled to a telescope
- Mount: Polar-aligned, equatorial tracking mount
- Camera mode: Manual
- ISO: Low to mid
- f-number: Fixed once camera and telescope are coupled
- Processing: Lucky imaging
Read more: