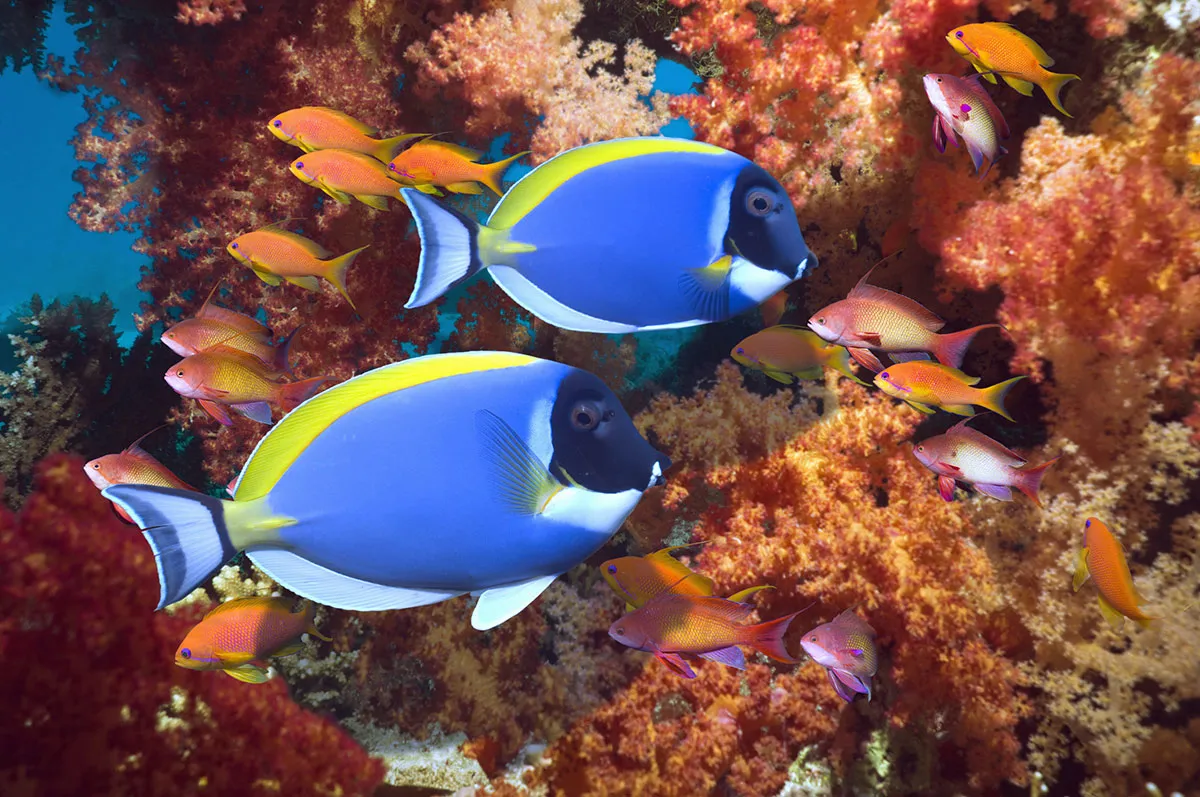
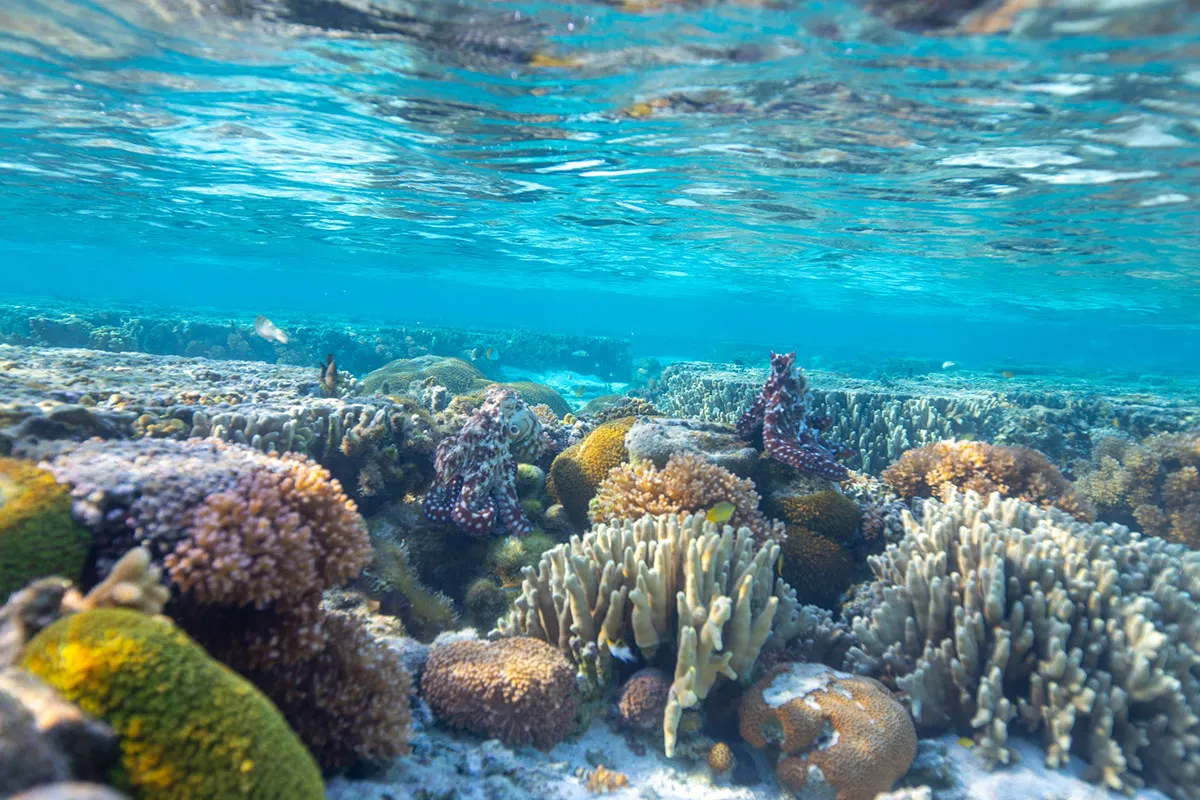
The underwater world is an exciting and often colourful place that many of us enjoy exploring at home and abroad. And combining this with photography is the perfect way to experience the fun of the coast while capturing eye-catching images that will add a new dimension to your holidays.
Whether you’re an experienced diver, someone who enjoys snorkelling on holiday or you simply can’t resist exploring rock pools, there are underwater photography opportunities for everyone. The most important thing to remember is that the sea can be a dangerous place, so always dive, snorkel and swim in safe areas and never beyond your abilities and experience.
Once you’ve decided on how you’ll explore the underwater world, it’s time to think about how you’ll get your camera safely underwater. There are several different options available. Here, we’ll outline the most common, focusing on how to capture great results with tough compact cameras and GoPro cameras.
Tough compact cameras are drop-resistant and naturally waterproof to varying degrees. With a GoPro, you’ll need to purchase an inexpensive underwater housing separately. But either way, combine one of these with an underwater LED light and you’ll be well on your way to subaquatic success.
Underwater camera options
Use a tough compact camera
Tough compact cameras are a popular option for holidays because they’re strong enough to withstand being dropped, as well as being waterproof to varying depths and resistant to sand. The best options for these cameras are manufactured by Nikon and Olympus, and arguably provide the easiest and most effective way to shoot underwater photography.
The Olympus TG-6 can also be paired with an underwater housing with a flash attached, to allow you to go deeper.
Shoot with a GoPro
GoPro cameras are well-known for their underwater capabilities and are a great option for underwater photography. The main camera itself will need to be placed inside an underwater housing, available separately from the newer HERO9 and HERO10 models.
And for the best results, you can also purchase the PolarPro DiveMaster Filter Kit for the HERO10 and HERO9 Protective Housing to correct the blue colour cast that typically occurs underwater.

Use a dedicated underwater housing
If you’re serious about shooting underwater photography and have a large budget, a dedicated underwater housing for a DSLR or mirrorless camera will provide the best image quality possible.
This is, however, a high-end option for professional underwater photographers and divers interested in underwater photography. These underwater housings can cost as much as a camera body, so it’s a serious investment on top of underwater LEDs or flash to illuminate subjects.
Try the aquarium trick
If you’re on a tight budget and would like to use your DSLR, mirrorless or standard compact camera underwater, the aquarium trick may be the option for you. This simply involves placing your camera inside a small, empty glass aquarium and partially submerging it underwater so the camera can view fully underwater, or a split field image showing above and below the surface.
The aquarium option is safest in shallow water such as rock pools and rivers where there’s no chance of a wave breaching the top of the aquarium.
The challenges of underwater photography
Safety aside, the trickiest aspects of underwater photography are the lack of contrast, colour casts which make things appear blue, and lighting. To combat these, it’s best to shoot as close to subjects as you can to reduce the amount of water between the camera and subject. The same goes for depth: the shallower you are, the clearer the water will appear, and this will be the case from close to the surface down to around 1.5m.
Whether you’re shooting close to the surface or deeper down, lighting is important. And while you can achieve reasonable results with natural light, an underwater LED is a great option for illuminating subjects. In an ideal world, you’d have two of these on either side of the camera attached to arms, but one LED will work well and can be handheld to the side of the subject you’re shooting. The camera’s built-in flash creates a problem known as backscatter, where particles in the water are illuminated by the flash.
How to capture underwater images with a tough compact or GoPro

Using a tough compact camera
For the best results, shoot images in Raw format so you can process your images to perfection, with Auto ISO set to 100-400 and white balance set to Auto.
But if you’re not familiar with Raw processing, you could select the underwater scene mode to shoot JPEGs instead. This will apply the best settings for underwater photography with a boost in contrast and saturation, as well as disabling the flash. Try to get as close to the subject you’re shooting as possible to obtain more clarity in your images.
Shooting with a GoPro
With a GoPro, select the Photo preset, customise the settings and create a custom setting for underwater photography. Shoot photos with the zoom set to 1.0x with the minimum ISO at 100 and maximum ISO at 400. Set white balance to Auto and make sure that the camera is set to capture one image at a time rather than in bursts.
Ideally, shoot in Raw format so you have more control over images during processing, or shoot JPEGs if you prefer processed images straight out of camera.
Get lighting just right
You can purchase special underwater LED lights and flashes designed specifically for use with tough compact cameras and GoPros from both the camera manufacturers and third-party manufacturers. The latter are inexpensive and can be held to the side of the subject you’re shooting, but out of shot.
This will increase contrast, help to achieve more natural colour, and most importantly won’t create backscatter which would ultimately ruin your images. Remember, never use on-camera flash.
Read more:
